

Do you have wavy or curly hair and no time to spare?
Do you feel like you don't have time to do your hair and makeup in the morning before work or school?
You are not alone. I know the struggle is real, but let's work together! This blog post will show you how to take care of your curls in 20 minutes or less. With these tips, we can all look good on little sleep.
Where to start (in the shower):
Step 1
Shampoo or cleanse your hair twice, a.k.a ‘clean it real good’! The better the foundation the longer-standing your result will be. You get to choose your lather - high, low, or no.
Step 2
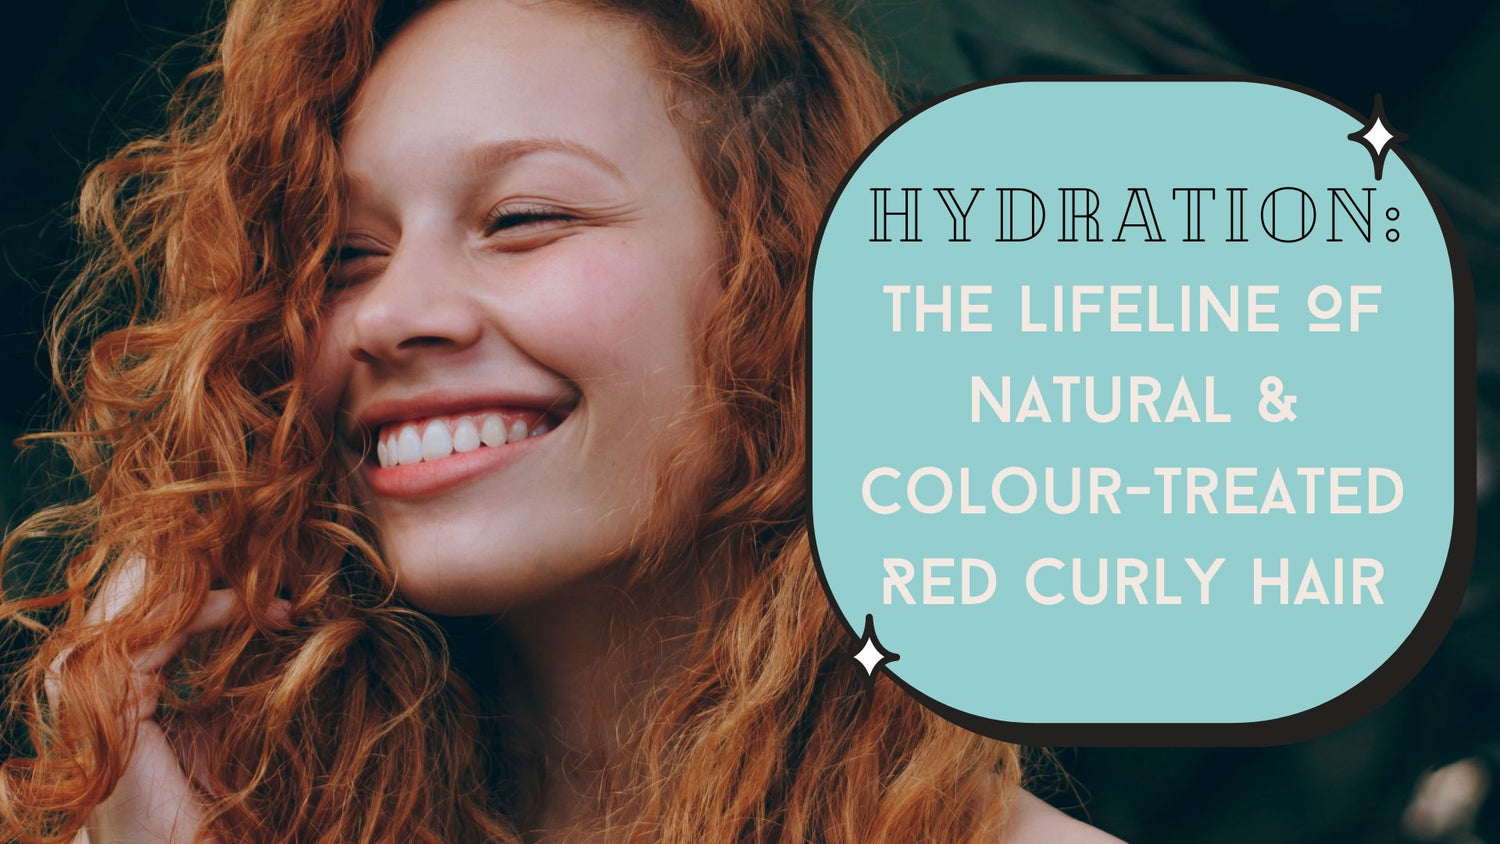
Hydrate! A.K.A Conditioner + H20 + Brush. Focus less on smothering your hair with thick product and instead grab a lighter conditioner for curly hair (we recommend Nourish & Flourish Conditioner).
While your hair is drenched and dripping wet, work the water and conditioner together with a brush (Yes Flexi brush, of course) to make sure the inside of your hair is no longer dry. This will help hair that is prone to being hectic and annoying, rebellious and frizzy!
Step 3
Style - the step that makes your curls survive longer than hot chips at the beach! First, split your hair in half. Then grab a lightweight hydrating gel (our fave: Oomph Volumising Lotion) and use approx 20-50 cent sized amount for each side of your head. Comb this through with your fingers (from mids to ends first, then roots to ends second) and grab your Flexi brush to work that product through on each side.
If volume and big hair is your mantra, flip your head upside down and brush from roots to ends to get some height at the roots. If you're a more low-key kind of curly then lean your head side to side and finger brush to separate the clumps to be the desired size.
TIP: the smaller the clumps = quicker drying time and more volume, VS larger clump = less volume and longer wait time ‘til you're dry.
Step 4
Drying: Grab a non-fluffy fabric (LOHY. Glove, tea-towel, Muslin wrap, cotton T shirt) and begin to scrunch your curls into shape. Visualise a slinky motion, and starting from the ends, work a section of hair to the roots and pulse like a stress ball. Continue around your head - the more you do this the more curl you will build.
Now, you can choose to dry it with a diffuser or leave it to air dry, depending on the climate you live in! On my ultra lazy nights (we all have them) I diffuse for 2-3 mins and then gently tuck my curls into my LOHY. Cozy (similar to a buff) and let them dry overnight!
TIP: try not to touch or handle your curls too much while they dry, the more you fiddle, the more you disrupt the curls!
You can get extreme about a lot of things in life, but today I wanted to share how to do curls with no time on your hands! KISS…. Keep It Simple Stupid!!!! Trust me, this will give you that great feeling about yourself, and you may even still have time to make a cup of coffee for the school run 😉
xoxo
Jonina


1 comment
Totally concur with above! It’s the easiest routine I’ve ever had that makes me feel refreshed and refined – ha!
Love your work! I share this with every wavy / curly lady I know!